
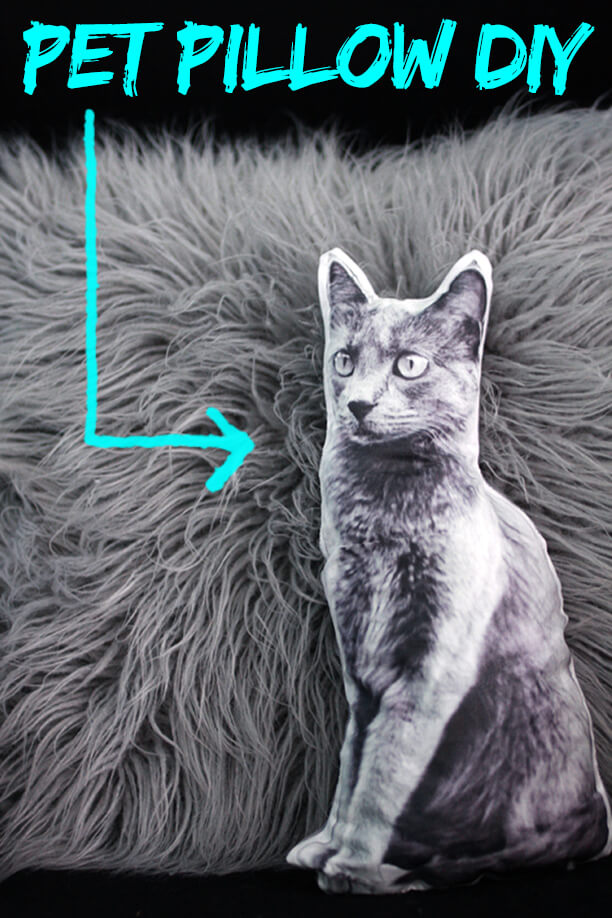
Ok, I have to be honest and say that this is hands-down my favorite project that I’ve done this year. Just the thought of doing it was literally keeping me up at night I was so excited! For pet lovers, there’s nothing better than having an item personalized with your favorite breed of furry face. I’ve always loved these Fauna cat pillows and it recently occurred to me that I could not only have a dreamy cat shaped pillow of my own, but that it could also be my actual pet Charlie.
All I needed to complete my project was fabric transfer sheets, an inkjet printer, cotton fabric, and pillow stuffing.

1.) I found a photo of Charlie where she was facing forward in a sitting position and erased the rest of the background in Photoshop. If you don’t have Photoshop, don’t worry! You can print your photo, cut out your pet, and scan your photo with a blank sheet of paper behind it for the same effect. I printed the photo onto my fabric transfer sheets. Since I wanted a larger pillow, I printed the top half of Charlie on one sheet and the bottom half on another. 2.) Leaving a 1/4 inch boarder around the photo, I cut out my pet and followed the fabric transfer sheet instructions to iron my cat onto the white cotton fabric. 3.) Once her image was on the fabric, I cut around her (leaving an 1/2 inch seam allowance) and cut out a piece of grey cotton for the back of the pillow. 4.) I then pinned the right sides of my pillow pieces facing each other (don’t forget to leave an opening at the bottom of the pillow so you can stuff it once it’s sewn together). 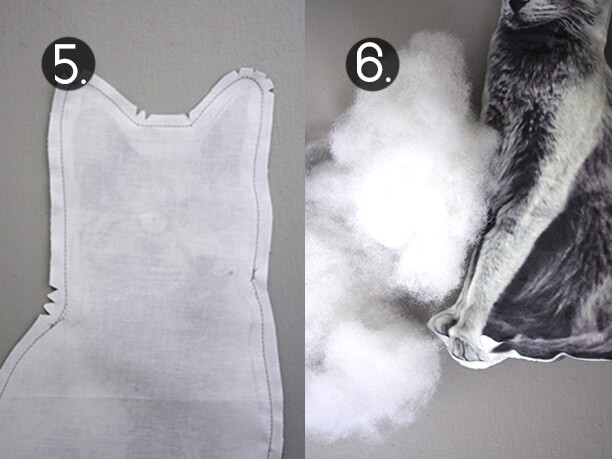 5.) Sew all the way around the pillow and make little notches with your scissors at all the places where your pillow has a curve. This will help the curved edges lay better once it’s flipped right side out. 6.) Turn your pillow inside out and fill the pillow with pillow stuffing through the opening in the bottom. Hand sew your opening shut with a hidden stitch and you’re done!
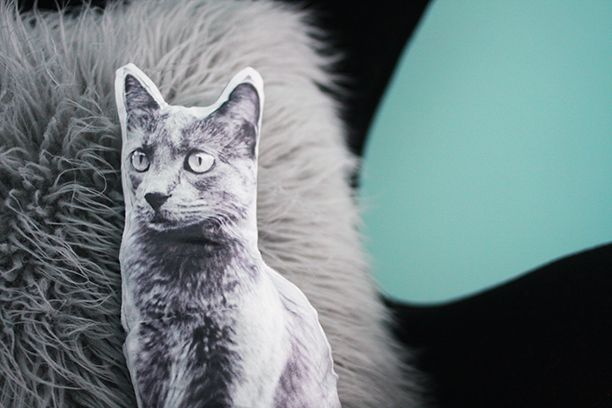

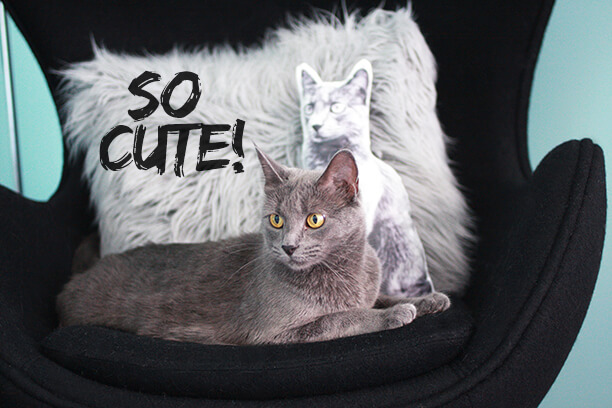 I love to see people’s reaction when they come over and haven’t seen the pillow yet. Because my pillow is life size, sometimes they really think it’s Charlie on the chair! And in case you are wondering, there was a bit of puffy-tailed growling when we first showed Charlie the pillow- even she was fooled! But now, as you can see, they are pretty much BFFs.
If you decide to give this DIY a go, I hope you have as much fun as I did making mine. Send me a picture if you get a chance to make one, I’d love to see how your pet pillow turns out!
xo. Laura
I want to make a life size pillow of my dog! It would probably take a whole year to complete it though
This is so cute, and very life like. Hanna Marie
Love your detailed sewing instructions- and the finished product is adorable (like Charlie!).
Umm this is awesome!! I am totally going to try this. Thanks for sharing!!!
oh my gosh, this is AMAZING!
HA! THat is SO cool!! So going to do this of my Yorkshire Terrier 🙂
Rosie x | Every Word Handwritten
hahaha oh my gosh this is amazing! 🙂 love it!!
Haha! That’s so cute and creative! I love it!
I am having trouble with the picture sizing. Do you have any helpful hints to get a regular size photo of a pet to the size of your pillow? Did you just increase ? Sorry, I am tech challenged, but can see. Thanks for any help!!
Yes, just increase the photo size (I used Photoshop) and if it’s too big to fit on one sheet of paper, then make two new documents and copy/paste the top on one and the bottom on the other. Hope that helps!
Thank you for taking the time to make the tutorial for this clever idea. (And speaking of time, you must’ve waited a LONG time with camera in hand for Charlie to get on the chair and face just the right angle to exactly duplicate his pillow’s face, LOL!) Good job!
Where can you get the fabric transfer sheets? I looked on the Michaels website but didn’t find anything. Thanks so much for any ideas!
No problem! You can get it here:
http://www.staples.com/Avery-Inkjet-Fabric-Transfer-White-8-1-2-W-x-11-L/product_958827?cid=PS:GooglePLAs:958827&ci_src=17588969&ci_sku=958827&KPID=958827&lsft=cid:PS-_-GooglePLAs-_-958827,kpid:958827&gclid=CjwKEAiAxfu1BRDF2cfnoPyB9jESJADF-MdJFmO32BqJF6GW0PDkZg9pyTJVzJpH2gUvkjp2tuqMkRoCE0rw_wcB
🙂
Thankyou so much!
That’s cute how did you do it I want to do one for my nephew his dog died I want to make a remeberice pillow put of this pic send me a message and I will show you the pic