I think if you would have told me five years ago that I would become obsessed with triangles I would have said, “What? Triangles?? The shape that Sesame Street is occasionally brought to you by??? That’s weird.” But it’s not weird, because triangles really are great. Maybe it’s their pointy edges that appear rugged and a bit dangerous, maybe it’s their three smooth sides that remind us that three is the perfect grouping number, or maybe it’s their overall shape that reminds us of the exotic and mysterious Egyptian pyramids….I don’t know for sure. But I do know that my friends refer to my house as the “triangle house” on occasion due to the overwhelming prominence of the shape.
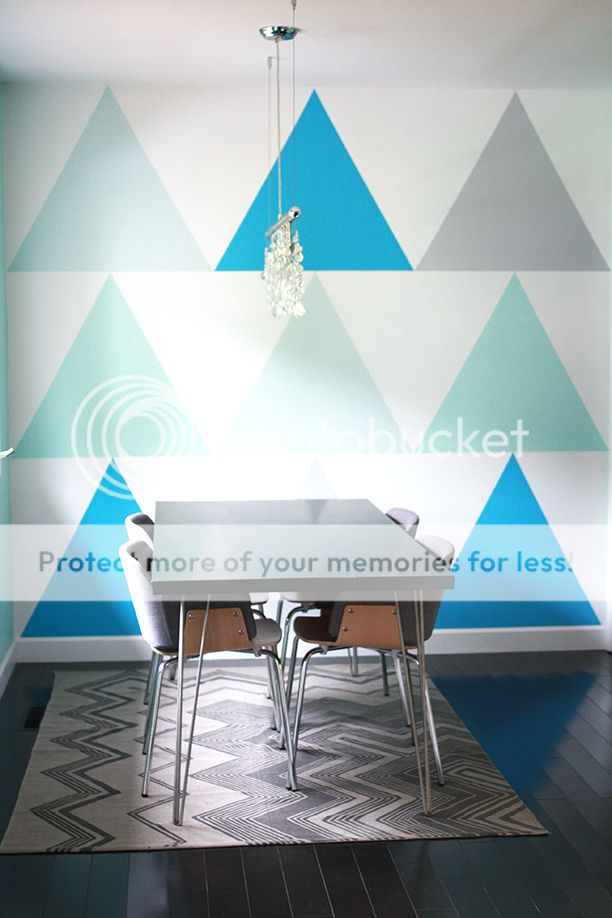
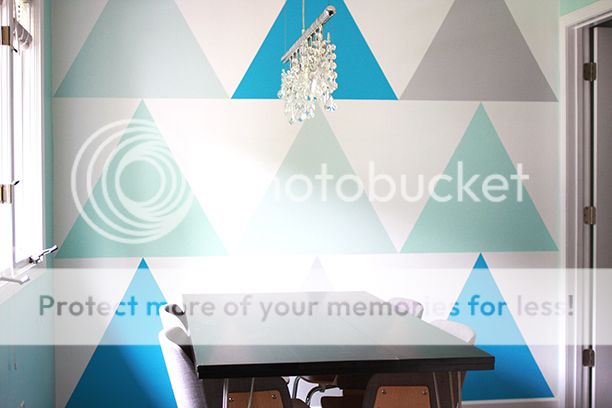
In fact, I even have one statement wall in our dining area solely dedicated to the silhouette. I thought I’d share the process I went through to make my triangle statement wall in case you’re as obsessed with triangles as I am…
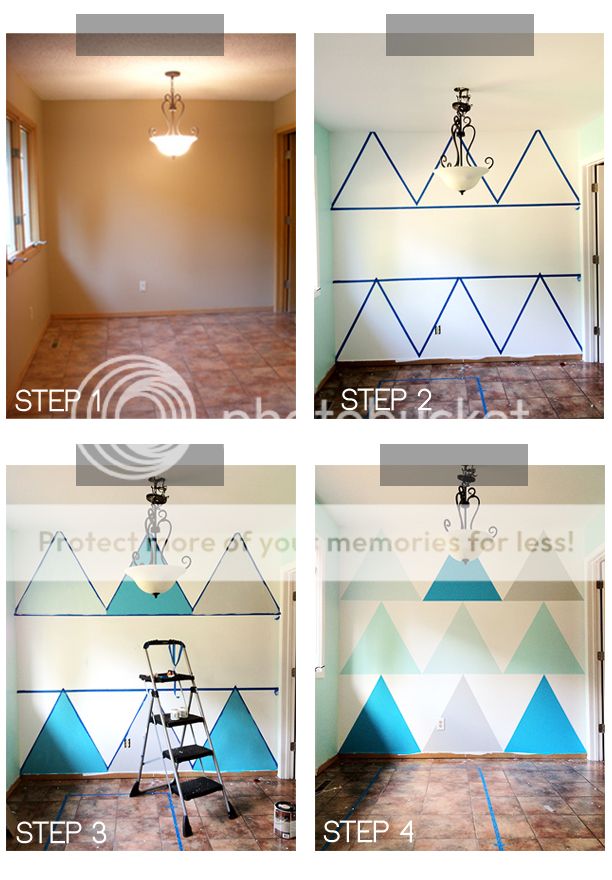
1. First, I cleared out the dining area and primed and painted the wall white. (I was in the middle of renovating the whole house when we first moved in (which you can read about here), so you’ll see that the floor, trim, and light fixture got switched out in the process as well). 2. Once I had a blank canvas, I measured the wall’s width and height and divided the space into six equal squares in which to paint six triangles. I made small pencil marks on the wall marking the squares and proceeded to mark off the top and bottom row of triangles with painter’s tape. (I did these rows first and let the paint dry before taping off the middle row since the triangles should be just touching the rows above and below them). 3. Once the triangles were taped off, I used two coats of paint to fill in my triangles and carefully peeled off the tape once the paint was dry. I didn’t yet know about this awesome tip for painting lines with painter’s tape, but thankfully my lines still came out nearly perfect anyways (phew!). 4. I touched up any paint bleed with a small brush and the white wall paint, and I was done!
For the colors, I used Valspar’s Sprinkle, Silver Leaf, and Icy Blue. I actually couldn’t find a color that I liked enough for the brighter blue, so I used a craft store acrylic paint in Pool Blue to get the desired hue.
Making a statement wall is always a fun project for me, and it’s so easy to do that you can switch up your wall as your style (or mood) changes. Think you’ll be doing a statement wall any time soon?


Yessss!!!! I was just going to write to you on Facebook and ask how the eff you did this wall! I too am weirdly obsessed with triangles.
this looks so very great! really loving your blog!
xx
I love the colors you picked. This looks so unique. –Hanna Marie
where did you find your table & chairs? I love them!
We made the table and the chairs are Blu Dot for Target 🙂
Love this post! I too did a statement wall before learning about anti-bleed tricks. I went with gray and cream stripes on the largest most visible wall into home. I couldn’t be happier! As much as I adore your triangle wall I think the stripes were even a bit brave for me. This is a great way to give a room a mod twist and help a home reflect you. The colors are fantastic!
Wooowee, this is so effective and perfect!
Rosie x | Every Word Handwritten
this is gorgeous. i am looking forward to owning my own house one day and making statement walls.
Your wall came out so cool, I really like the semi random pattern of the the different blues, and the light fixture you chose looks beautiful.
http://www.LPbyLP.com
That is really great looking. Really catches the eye!
Thanks for sharing!
Looks awesome! Where did you get that light fixture from ?!
It’s from Z Gallerie 🙂
that’s pretty badass.
That really looks great, but measuring it out must have been a pain? I would like to try that some day, but with a different pattern.
triangles are my favorite shape too. unless they’re love triangles… that never ends well 😉
awesome! great choice of colors, too!
I linked to your tutorial on my blog – thanks for sharing!
♥, doro von Hand zu Hand